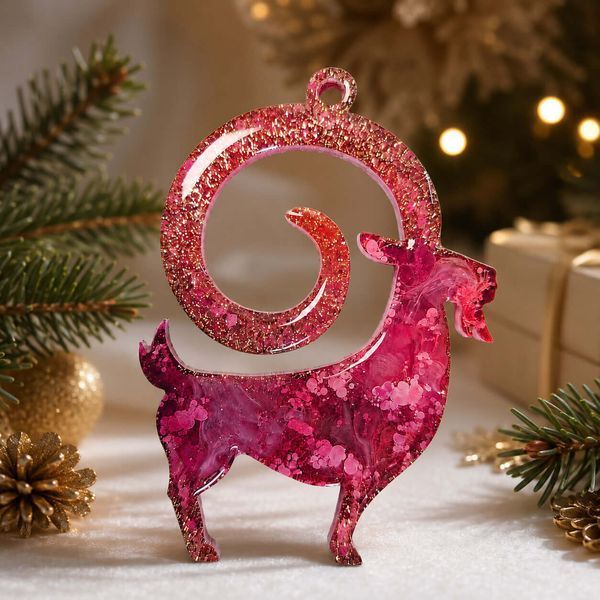
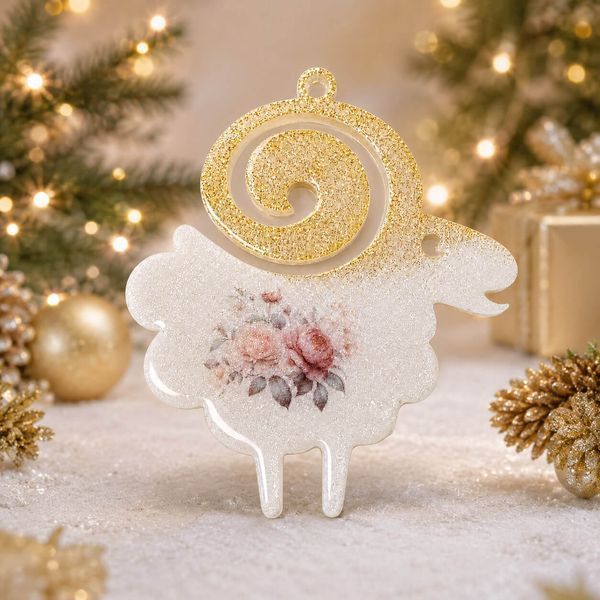
Epoxy Resin Christmas Ornament Mini Course
Epoxy resin Christmas ornaments are almost impossible to reproduce exactly. The inks move through the resin, colours blend naturally, and glitter reflects light differently from every angle. Even when the same steps are followed, each ornament develops its own pattern.
In this mini course, I demonstrate several ways to create resin Christmas ornaments, from decorating a dry silicone mould to working with alcohol inks, pigments and waterslide decals.
The lessons are divided into clear, manageable stages. We will cover material preparation, resin pouring, demoulding, edge finishing and final decoration.
The techniques can be used not only for goat ornaments, but also for Christmas baubles, trees, snowflakes and other festive silicone moulds.
What you will learn
During the mini course, you will learn how to:
- choose materials and prepare silicone moulds;
- work with epoxy resin of different viscosities;
- use coloured alcohol inks and white pigment;
- decorate a dry mould with colour and glitter;
- create a classic Petri effect;
- combine two types of resin in one pour;
- apply waterslide decals to finished pieces;
- remove ornaments carefully from their moulds;
- sand and finish the edges;
- apply a final resin coat;
- decorate completed Christmas ornaments.
Mini course programme
Materials and safety
We will review the resin, moulds, alcohol inks, pigments, glitter and tools required for the course. You will receive a materials list with photographs and useful links.
Dry mould decoration technique
Alcohol inks are applied directly to a dry silicone mould. Coloured sections and glitter details are created before the mould is filled with clear resin.
Alcohol inks in clear resin
You will learn how to create patterns inside the ornament using coloured and white alcohol inks.
Working with white pigment
An alternative technique using regular white resin pigment instead of white alcohol ink.
Classic Petri effect
We will explore resin viscosity, the order in which inks are added and the waiting time required to create a detailed internal pattern.
Double-pour technique
Two different resin viscosities are combined to produce a deeper and more complex design.
Working with waterslide decals
You will learn how to prepare and apply waterslide decals and how to arrange your own images on a printable sheet.
Final finishing
Sanding and smoothing the edges, correcting small imperfections, applying the final resin layer and decorating the completed ornament.
What is included
- video lessons;
- written explanations;
- photographs of materials;
- a list of required tools and supplies;
- useful material links;
- access to a private Telegram channel;
- participant chat for questions;
- unlimited access to the course materials.
Who this course is for
This mini course is suitable for those who want to:
- make handmade Christmas ornaments;
- begin working with epoxy resin;
- explore new decorative resin techniques;
- create personal handmade Christmas gifts;
- produce small festive collections for sale.
The course is suitable for makers with basic resin experience and careful beginners who are prepared to follow the instructions and safety requirements.
Your result
After completing the mini course, you will be able to create epoxy resin Christmas ornaments using several techniques, combine colours and decorative materials, finish your pieces neatly and prepare them for gifting or sale.
Course format
Format: private Telegram channel and participant chat
Materials: video lessons, written instructions, photographs and lists
Schedule: learn at your own pace
Access: unlimited
Support: questions can be asked in the participant chat
Important safety information
When working with epoxy resin, protective gloves and an appropriate respirator must be worn. Resin should only be used in a well-ventilated workspace.
This mini-course is intended for adults only. Working with epoxy resin is prohibited during pregnancy.